Approved content
The content below is provided by a partner.
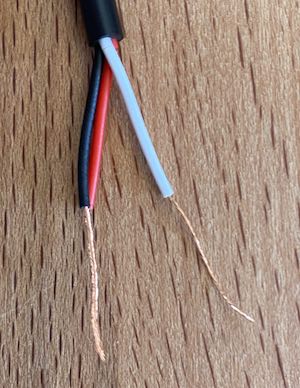
This extension allows the micro:bit to use the Dallas Semiconductor DS18B20 temperature sensor with just two wires (parasitic power mode).
This module supports use of one or more DS18B20 temperature sensors. Each sensor must be connected to a separate pin and must be configured for parasite power mode, where the sensor’s power and ground are both connected to ground.
Common wiring is:
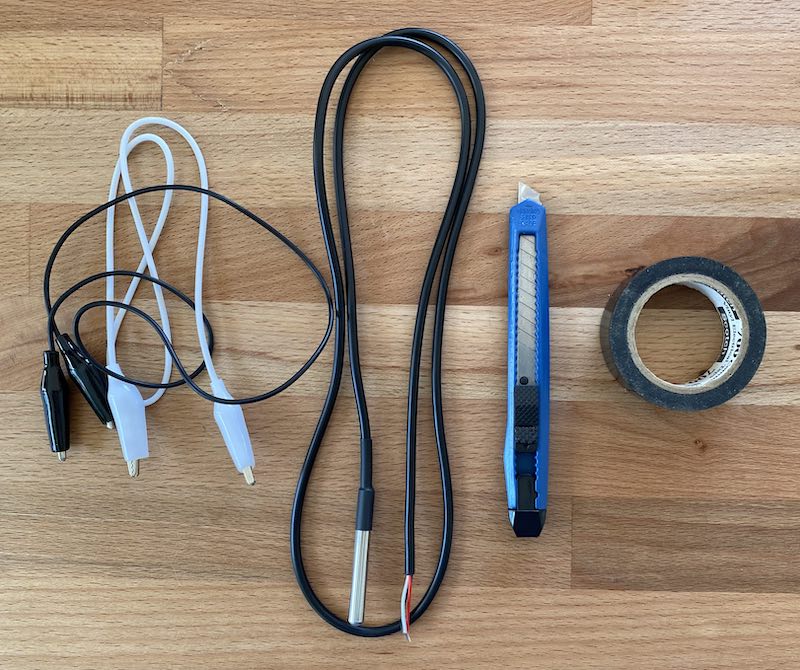
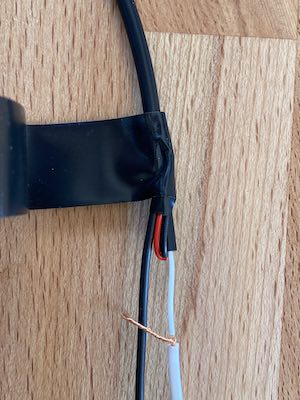
||P0||, to the data in/out (white wire) of the sensorYou can assemble your own alligator clip version of the sensor quite easily with: 1) (authentic) DS18B20, 2) 1-2 Alligator clips, 3) Wire cutters or utility knife, and 4) Tape (electrical taper preferred)
You can build a sensor assembly that easily clips on to the micro:bit cheaply (under about $7 U.S.) and quickly (under 15 minutes).
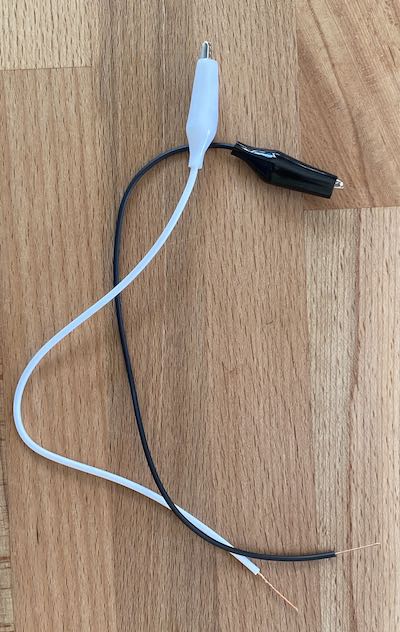
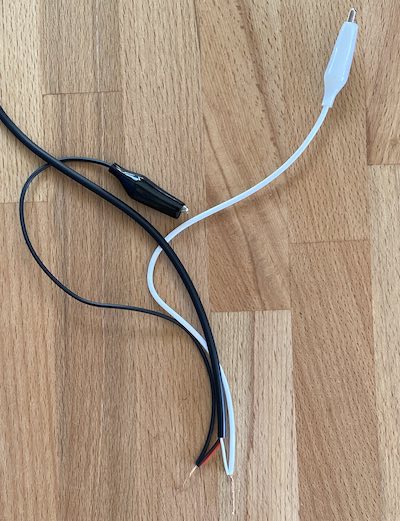

A completed module looks like: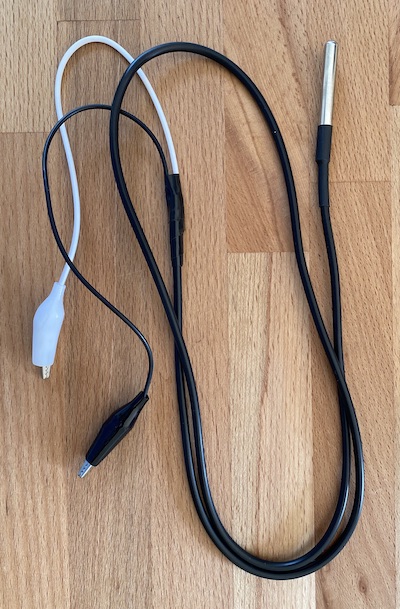
The sensor’s red/black wire (here connected to a black clip wire) should be connected to the GND on the micro:bit. The Sensor’s other wire (probably white and connected to the white clip wire here) should be connected to an I/O pin on the micro:bit, like `||P0||’.
dstemp2wire.celsius(pin: DigitalPin) : number Get the current temperature in Celsius. Returns -Infinity on error.
dstemp2wire.sensorError(errCallback: (errorMessage: string, errorCode: number, port: number) => void) { Report on any errors
||errorMessage|| will be a string describing the error||errorCode|| will be a numeric code||port|| will indicate which specific port encountered the error (if multiple sensors are connected)It’s best to capture the temperature in a variable and only use it if the value isn’t -Infinity. Since -300 C is below absolute zero, ensuring the temperature is over -300 is sufficient. For example:
temp = dstemp2wire.celsius(DigitalPin.P0)
if (temp > -300) {
    basic.showString("" + (temp))
}microbit-dstemp-2wire=github:bsiever/microbit-dstemp-2wiremakeCodeRender(“{{ site.makecode.home_url }}”, “{{ site.github.owner_name }}/{{ site.github.repository_name }}”);
microbit-dstemp-2wire=github:bsiever/microbit-dstemp-2wire#v0.2.1